Pages

Showing posts with label Distress Ink. Show all posts

Sunday, June 24, 2018

I Believe in You


I Believe in You


Hello friends! 

I'm here to share the most recent card that I finished for the IG Crafty Crew July Challenge (I'm a bit early) to make a cheer up or encouragement card using sequins and/or jewels.

If you want to participate on IG, use the hashtag: #igcc180710e 


Here is the card:


To start, I took a piece of watercolor paper (no idea what brand) and began blending several colors of Distress Ink:  Festive Berries, Candied Apple, Squeezed Lemonade, Cracked Pistachio, Salty Ocean, Wilted Violet

Next, I sprinkled water droplets over top and then spritzed Perfect Pearls lightly over the paper. After heat setting, I die cut the paper and made a shaker card. That's it!

I never separated the die set and after playing with them all together, I don't think I will ever cut them apart. haha


Here are some more photos:


Simon Says Stamp sentiment: I See You (no longer available), heat embossed with Hero Arts White embossing powder on SSS Black card stock
SSS Die set: Dot Circles


Thanks for stopping by and have a beautiful day!


Thursday, June 21, 2018

I Hope You're in Every One of My Nine Lives


I Hope You're in Every One of My Nine Lives


Hello friends! I'm here to share a card I made using two stamp sets from My Favorite Things, Cool Cat and I Knead You


Here is the card:


I made this card for my friend, Michelle (@michii00 on IG) that includes both of our cats. These stamp sets are adorable!

This card was spur of the moment. I wasn't sure how I was going to make this card with all four cats so I decided to wing it.

The ink I used to stamp the images is Simon Says Stamp, Intense Black ink because, Copics.

To start, I cut a piece of 80 lb Neenah Solar White in half the long way and worked from left to right. The only masking involved is the cat on the far left so I could have her sitting on the cushion and the cat  with the yarn so I could tuck the yarn under his paw. Unusual for me to have so little masking on a card. haha

I finally decided to give each cat their own little section so I would have more room to color our individual cats. Using a 0.5 Copic Multiliner, I drew a line to separate the first cat and began working on the next section. Using the MISTI stamping tool, I stamped the cat in the box and the sentiment at the same time, drew a line and moved on.

After I finished the Copic coloring, I covered different sections and lightly blended Tumbled Glass or Abandoned Coral Distress Ink into the corners. After brushing a bit of clear Wink of Stella on the fish and the bows on the cats, I was finished.


I've had some questions about which Copics I used so I will leave that information here:

Copic colors used:

E55,  E35,  E37,  E57  -  Cardboard Box

R21,  R22,  R14,  R27,  N0,  N2,  -  Cat bed

R20,  E50,  YR20,  E53  -  Cat on the left (Emma)

R00,  R20,  W1  -  Fish

B00,  B0000  -  Thought Bubble

N0,  N2,  N4,  R20  -  Cat in the Box (Mini)

E30,  YR20,  E53,  R20  -  Cat top right (Julius)

N4,  N6,  N8  -  Cat bottom right (Bentley)

C00,  C2,  C4  or  W1,  W3,  W5  -  Floor under cats


Here are some additional photos of the finished card:


Thanks for stopping by, have a beautiful day!


Sunday, February 14, 2016

CDD Nature's Wonders Linky Party - You have my heart


Hello friends! The theme for this Linky Party at Craftin Desert Divas is "Nature's Wonders"! We would love to see all of your projects that fit this theme! So go ahead and craft it and link it up on the Craftin Desert Diva's Blog.

Every other Monday will mark the beginning of a new semi-weekly Linky Party over 
at the CDD blog. We hope you will share your projects with us! And don't forget 
about  the prizes! Every Linky Party will have a winner and a Top 3! 
The more times you link up...the more chances you have to win!!

Our Sponsors for this Linky Party are:

One 4"x 6" stamp set
One Digi Stamp of choice

$25 Gift Card (Regular Priced Items)


Here is what I made..


To begin, I took a piece of Tim Holtz Distress Watercolor Cardstock and taped it to a hard board with painter's tape. Using two colors from the Sakura Koi Watercolors travel set, I saturated the paper with water and dropped on the paint, allowing the colors to blend together. Then I used my heat tool to dry the paper before layering on more color. 


When I was happy with the background, I used the largest scallop die from the Fancy Frame Dies set to die cut the panel. After that, I worked on the images. I stamped the images with Memento Tuxedo Black ink onto Neenah Solar White and colored them with various Copic markers. I fussy cut the cats and die cut the umbrella with its coordinating die.


Next, I used a die from the Pocket Pieces Hello Dies to give the cats a place to sit. I borrowed this idea from CDD DT member Laurie. I loved how she used the die a few months back and thought it wouldn't take too much away from the background.

I adhered the dies and the cats with foam tape, added the sequins using Multi Medium Matte and worked on the sentiment.


The sentiment also came from the Lovies stamp set. I stamped it with Hero Arts Unicorn White but it didn't stand out enough so I went over the text with a white gel pen. The result is not my favorite but I didn't want to make it worse so it stayed. haha


Here are all the CDD products I used:


Sweetness Sequin Mix


I hope you like the card. Thank you for stopping by and have a beautiful day!


Sunday, February 7, 2016

CDD Daily Post - Hello!

Hello everyone!

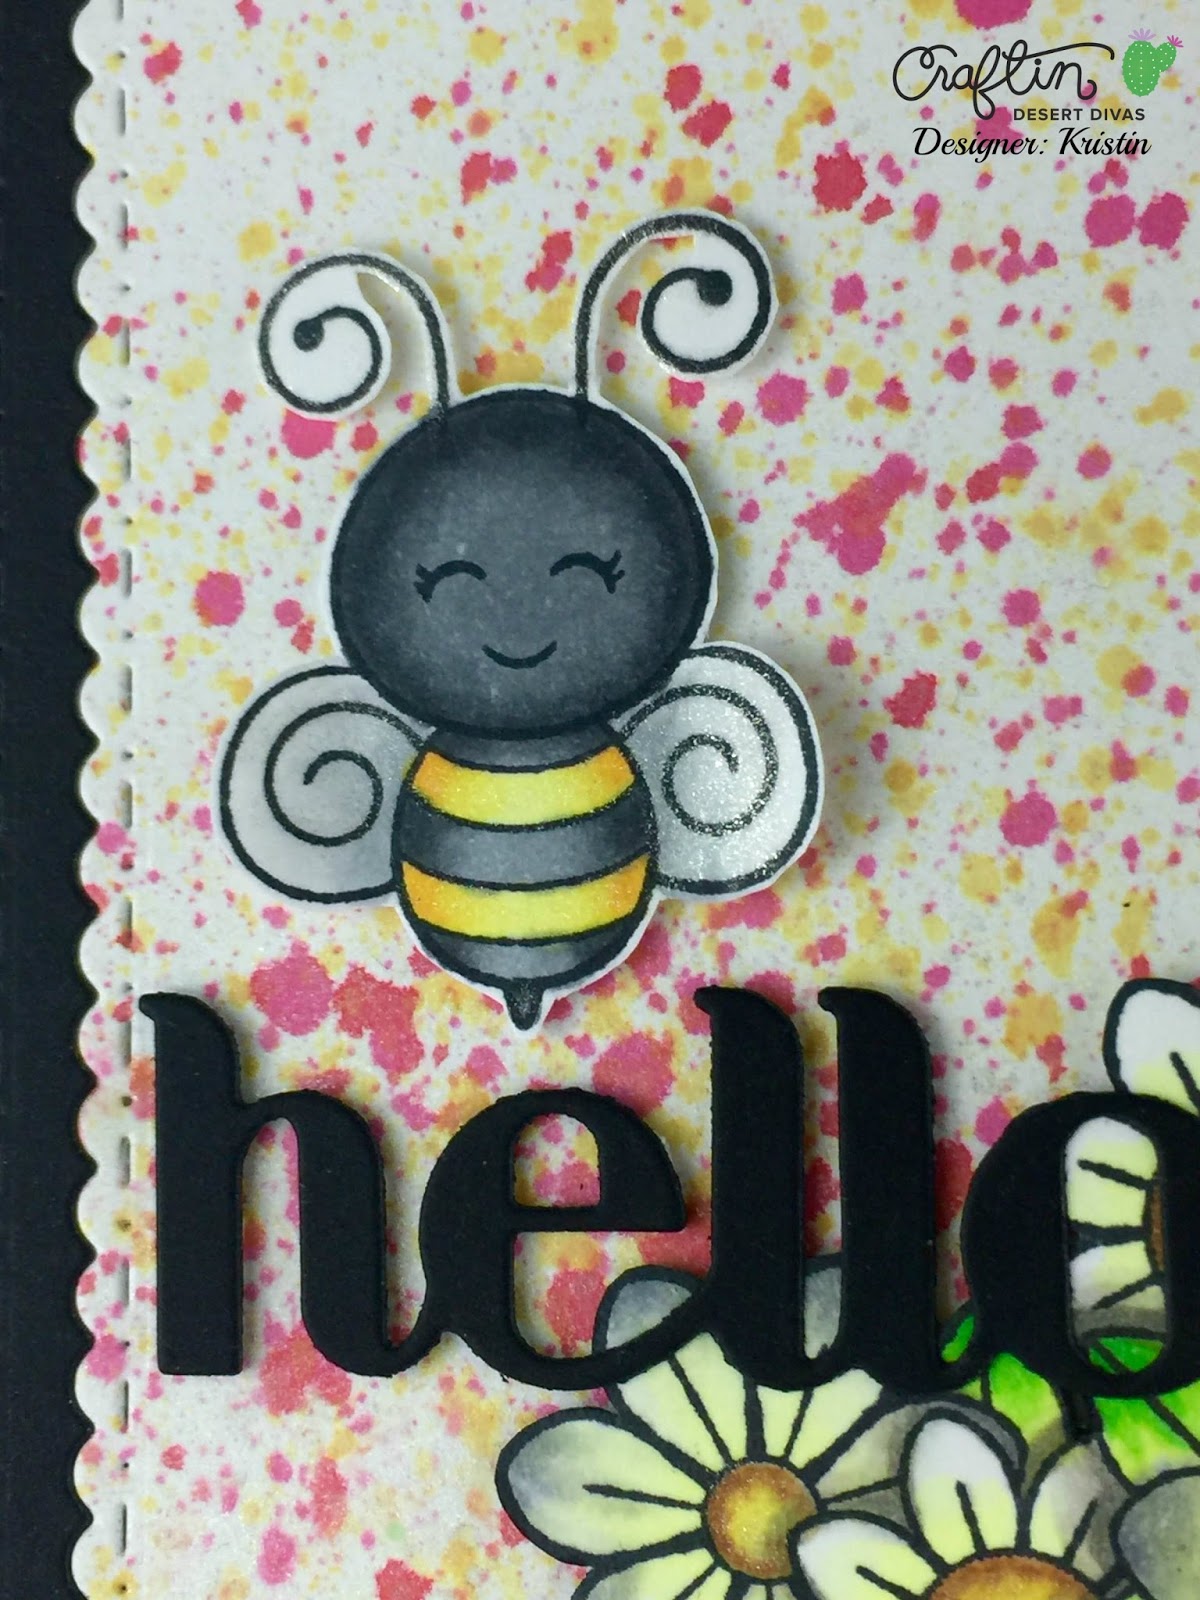
I'm here to share a card using the Busy Bees stamp set and two CDD die sets; Fancy Frame Dies and Pocket Pieces Hello Dies.

Here is my card:


To start, I die cut the splattered Distress Ink panel using the three largest dies from the Fancy Frame Dies set. Then I did the same thing with black cardstock. I replaced the middle section of the splattered panel with black cardstock, inlayed the die cuts together and glued them to the black card base.


Next, I stamped the bee and flowers from the Busy Bees stamp set with Memento Tuxedo Black, fussy cut them out and colored them with various Copic markers. I adhered them to the panel with low profile foam squares.


I die cut the word, Hello, from the Pocket Pieces Hello Dies Set with the same black cardstock. To make the Hello die cut the same height as the flowers and the bee, I cut the same foam squares in smaller pieces and used Multi Medium Matte to the spots that would lay over the flowers to hold it in place. For a final touch, I brushed Clear Wink of Stella on the flower centers and the bee's wings and I was done. 


CDD Products Used:


I hope you like the card and have a beautiful day!


Sunday, January 31, 2016

CDD Hearts Linky Party - Love Skunk!


Hello friends! The theme for this Linky Party at Craftin Desert Divas is "Hearts"! We would love to see all of your projects that fit this theme! So go ahead and craft it and link it up on the Craftin Desert Diva's Blog.

Every other Monday will mark the beginning of a new semi-weekly Linky Party over 
at the CDD blog. We hope you will share your projects with us! And don't forget 
about  the prizes! Every Linky Party will have a winner and a Top 3! 
The more times you link up...the more chances you have to win!!

Our Sponsors for this Linky Party are:

One 4"x 6" stamp set
One Digi Stamp of choice

$25 Gift Card (Regular Priced Items)


Here is what I made..


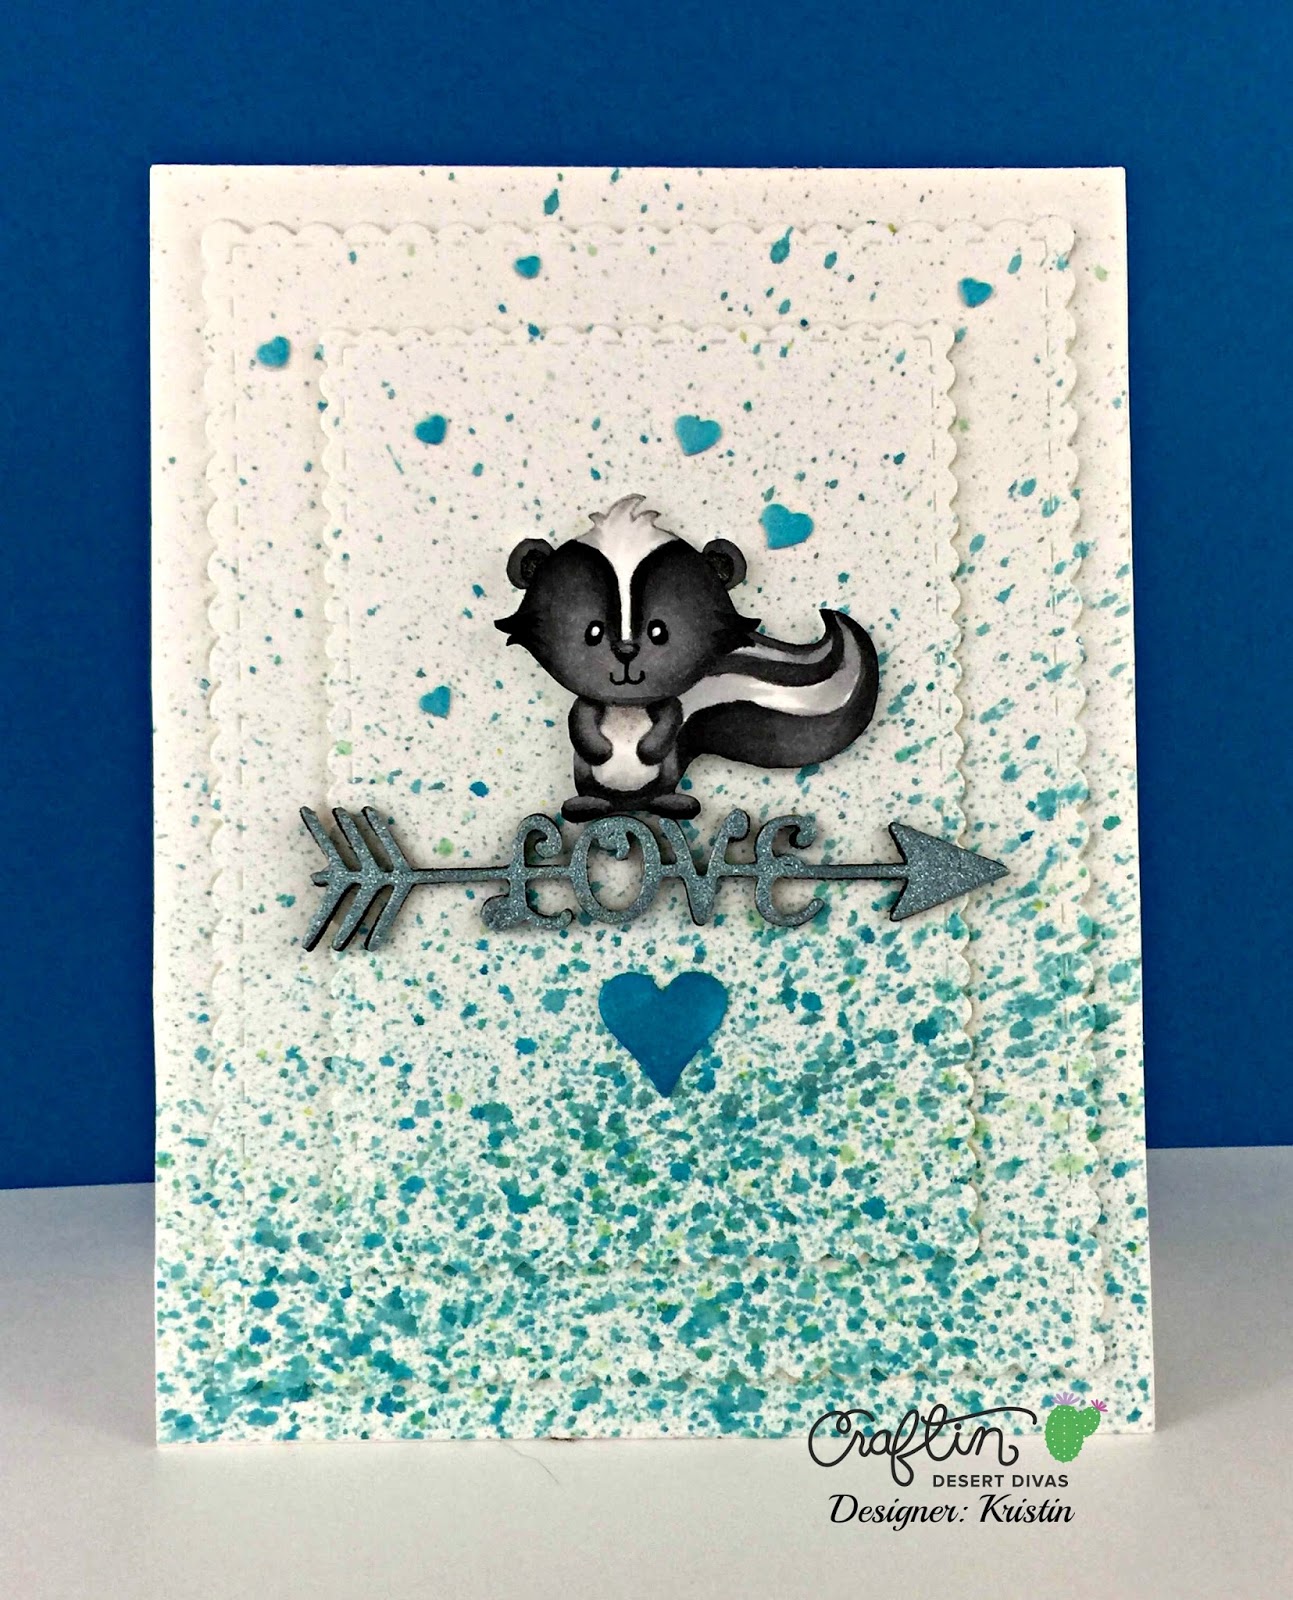
I couldn't resist making a card with this cute little skunk and using the Love die from the Heart of Heart Dies set. 

To start, I took a panel of Neenah Solar White and started flicking different colors of Distress Inks onto the paper. I used: Cracked Pistachio, Peacock Feathers and Mermaid Lagoon. I keep using them together and I keep loving it! I wanted the colors to have a bit of shimmer to them so I added some Perfect Pearls to the Mermaid Lagoon and flicked it on the panel a bit more. I probably went overboard but I admit it, I was having fun!


I wanted to use the Fancy Frame Dies in a way I hadn't used them before so I used the two scalloped dies in the set and die cut them together to save time. To assemble the card, I simply adhered the outside of the die cut panel directly to the card base. To make the middle of the die cut panel higher, I adhered it with one strip of foam tape. For the center of the die cut panel, I adhered it using two strips of foam tape together so it was higher than the rest. The photo above shows the dimension much better than my final photo and you can see the sparkle from the Perfect Pearls.

The theme of this Linky is Hearts so I decided to pull out my extra hearts from the few times I've die cut the large heart from the Heart of Heart Dies. Going along with the colors on the background, I colored the hearts to match using Copic Markers and set them aside. I have to add, having extra hearts laying around has been very convenient! Another reason to love the new die set!


This little skunk is so cute. After second generation stamping him on Neenah Solar White, I colored him with various Copic Markers and filled in his eyes and smile with a Memento Tuxedo Black marker. I wanted him to have a place to stand on the card without free floating so I decided to have him stand on the Love arrow.

I die cut the Love arrow out of sparkly blue-green cardstock and then several times from black cardstock so I could layer the paper and give it some dimension as well. After fussy cutting the skunk, I adhered him with foam tape to stand atop the Love arrow.


Here you can see that I took the several small hearts that I had colored with Copics and adhered them to the card base using Multi Medium Matte. 


Thank you for stopping by today! I hope you like the card and that you join us in the Hearts challenge!


Here are all the CDD products I used:


Scent


Have a beautiful day!