Pages

Showing posts with label wink of stella. Show all posts

Sunday, February 7, 2016

CDD Daily Post - Hello!

Hello everyone!

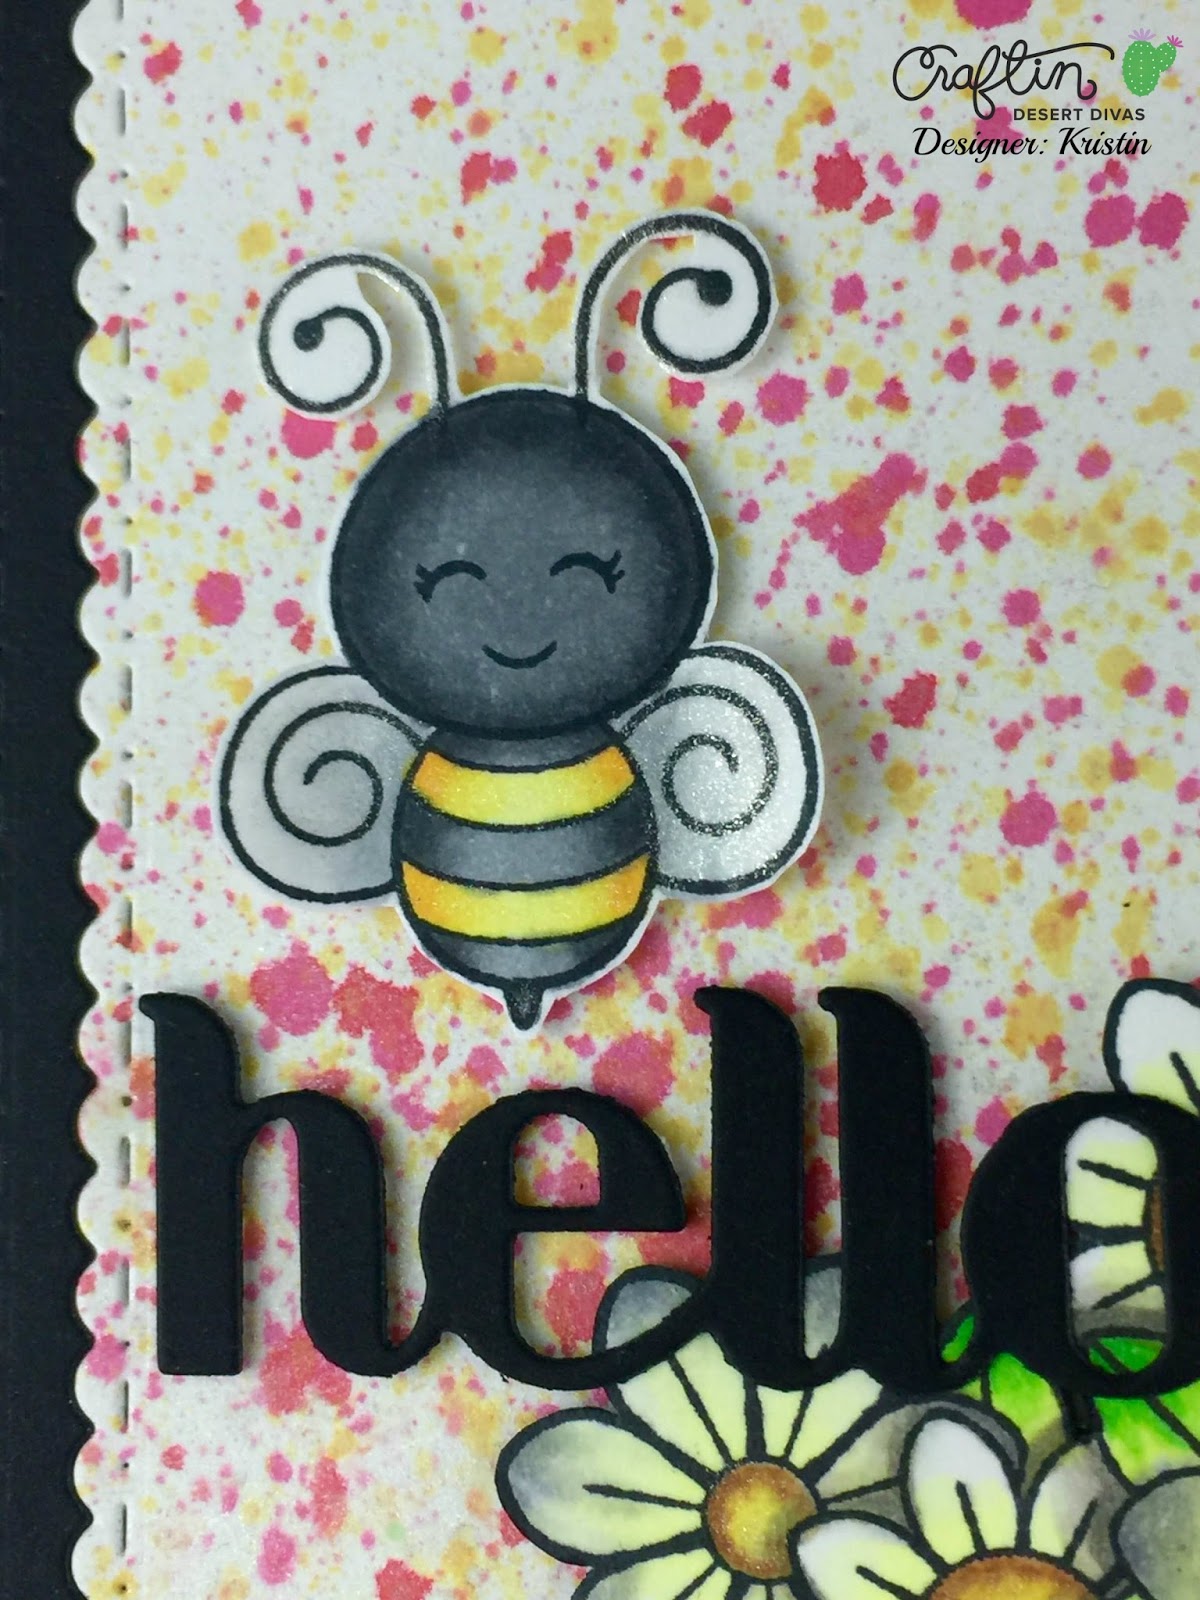
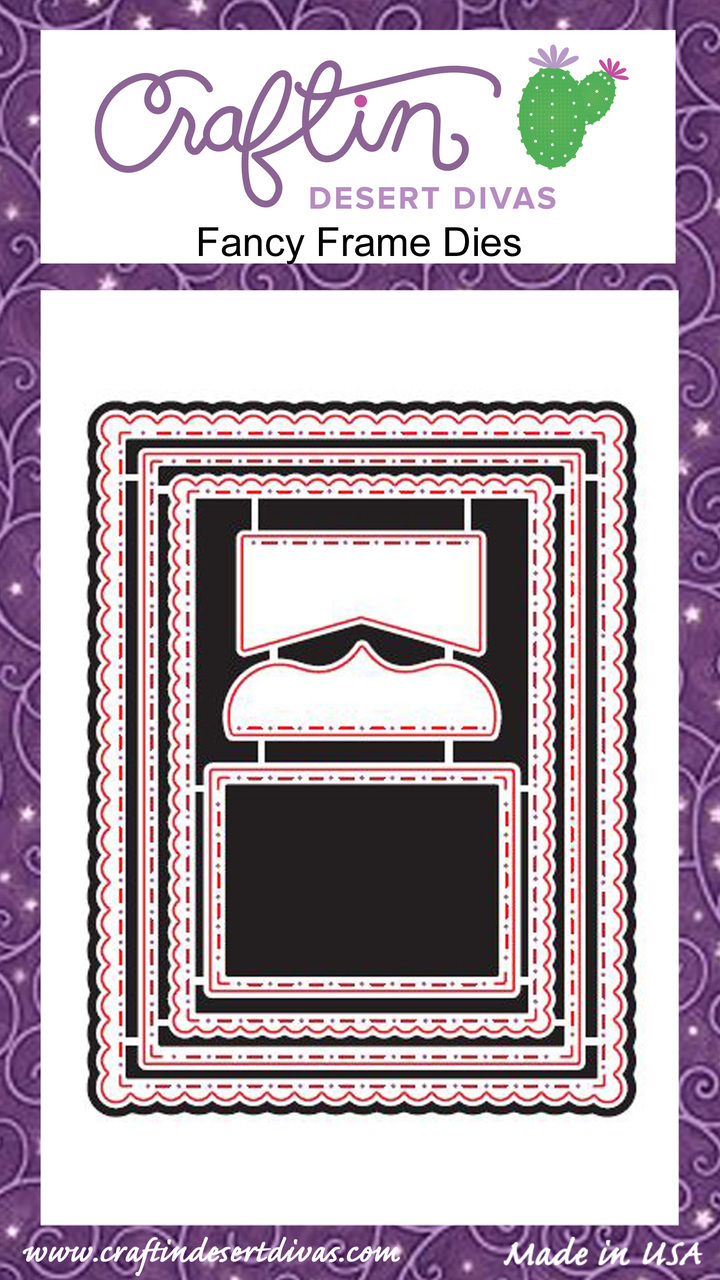
I'm here to share a card using the Busy Bees stamp set and two CDD die sets; Fancy Frame Dies and Pocket Pieces Hello Dies.

Here is my card:


To start, I die cut the splattered Distress Ink panel using the three largest dies from the Fancy Frame Dies set. Then I did the same thing with black cardstock. I replaced the middle section of the splattered panel with black cardstock, inlayed the die cuts together and glued them to the black card base.


Next, I stamped the bee and flowers from the Busy Bees stamp set with Memento Tuxedo Black, fussy cut them out and colored them with various Copic markers. I adhered them to the panel with low profile foam squares.


I die cut the word, Hello, from the Pocket Pieces Hello Dies Set with the same black cardstock. To make the Hello die cut the same height as the flowers and the bee, I cut the same foam squares in smaller pieces and used Multi Medium Matte to the spots that would lay over the flowers to hold it in place. For a final touch, I brushed Clear Wink of Stella on the flower centers and the bee's wings and I was done. 


CDD Products Used:


I hope you like the card and have a beautiful day!


Wednesday, December 2, 2015

Don't be a grinch and Very Merry Christmas!


Hello and Good Morning! 

I'm here to showcase a great stamp set, Tis The Season! For the month of December, we'll be showcasing some of our favorite stamp sets on the CDD blog so join us daily to see the wonderful projects from the CDD DT!

Today I have two cards to share with you.

Here is my first card:


This is a simple card because I wanted the sentiment, Very Merry Christmas, to stand out. It's big and bold so why not show it off?

I heat embossed the sentiment using WOW Gold Rich Pale embossing powder on a piece of Tim Holtz watercolor paper. I wanted to add a snowflake so I chose the snowflake with a heart in the center from the stamp set, Chilly.


I used four Distress Inks: Cracked Pistachio, Peacock Feathers, Mermaid Lagoon, and Chipped Sapphire. I also used some gold shimmer and white shimmer from my Gansai Tambi watercolors.


When the panel was dry, I used the largest scallop die from the Fancy Frame Dies set and after I adhered everything to the card base, I was finished!


Here is my second card:


For this card, I used, Tis The Season and Elf Made, along with two die sets, Fancy Frame Dies and Stitched Scallop Dies.

Using one of the dies from the Stitched Scallop set, I die cut the panel at an angle, taped the two pieces of paper together again and die cut the panel again using the largest scallop frame from the Fancy Frame set. Then I separated the two panels and blended Twisted Citron Distress Ink into the lower panel. 


For the background, I used three snowflakes from the Chilly stamp set and two Hero Arts Shadow Inks, Green Hills and Soft Green.

I colored the girl elf with various Copic markers. I had a Clear Wink of Stella explosion when I was shaking the brush pen so I splattered more on the paper to look like it was intentional! haha


The sentiment I chose from Tis The Season for this card is, Don't be a grinch.


After adhering everything to the panel, I was finished!


CDD products used:


Elf Made

Stitched Scallop Dies


Thank you for stopping by and have a beautiful day!


Sunday, November 8, 2015

CDD Make it Sparkle Linky Party - Hope Your Holiday Sparkles!


Hello and Happy Monday!


Today is the start of a new Linky Party! The Theme is Make it Sparkle. Every other Monday will mark the beginning of a new semi-weekly Linky Party over at the Craftin Desert Diva's blog. I hope you will play along with us and share your projects with the Make it Sparkle theme! Every Linky Party will have a winner and a Top 3 so you have a chance to win a prize! The more times you join us, the better your chances!

Our Sponsors Are:


Here is my project:


I used the stamp sets, Chilly and 'Tis The Season and the Fancy Frame Dies for this card. 

Originally, I had planned to make this card a shaker but couldn't bring myself to cover it all up with acetate. 

To start, I stamped the sentiment, Hope your holiday sparkles, with Versamark Ink. I sprinkled Liquid Platinum embossing powder from Ranger, tapped off the excess and melted it with my heat tool. 


Next, I stamped snowflakes from the Chilly stamp set with Versamark Ink and sprinkled white embossing powder from Ranger. 

After I was happy with the arrangement of snowflakes around the sentiment, I decided to stamp the bear with second generation stamping using Rich Cocoa Memento Ink. I covered the bear with a 2mm Molotow masking pen and when that was dry, began working on my background.

I used the colors Peacock Feathers, Tumbled Glass and Cracked Pistachio to blend into the background, using a light hand in the center around the masked bear. 


After I gently removed the masking fluid, I didn't want the bear to look like he was floating so I decided to mask him again with a post it note. I used Unicorn White Ink from Hero Arts and a sponge dauber to make a snowy hill on which the bear could stand. There wasn't enough dimension for me so I took my Copic Opaque White and built it up around the bears feet as well.


Next, I colored the bear with various Copic markers. I wasn't entirely happy with the bear's head so I decided to stamp the hat that comes in the Chilly stamp set with the same Rich Cocoa second generation stamping. I also colored the hat with Copics and fussy cut it out, using Tombo Mono Multi glue to adhere it onto the bear. I did not use Tombo Mono on the strings for the hat.

To make this a snowy scene, I used a Uniball Signo Broad White gel pen to make it look like snow was falling, including over the bear and the hat. 

For the heat embossed snowflakes, I used a Sakura Stardust Glitter Pen to make dots of sparkle around the snowflakes and in the center. To accentuate the sparkle, I used high, small dots of Glossy Accents. I also used tiny dots of Glossy Accents on the bears eyes and nose.


Using the Fancy Frame Dies, I die cut some silver glitter cardstock with the largest die in the set and adhered the two panels together with Tombo Extreme Adhesive.

For the card base, I used Smoke cardstock and wrapped some pretty ribbon around it before I adhered my panel with Scotch Foam tape. Or as Sandy Allnock calls it, The Precious. haha


Going along with the theme of, Make it Sparkle, I brushed Clear Wink of Stella over the snow where the bear is standing and over the sentiment. I would not suggest using the Wink of Stella over the white gel pen or Copic Opaque White. I learned that the Wink of Stella will start to pick up and move around the white, making lovely clumps of sparkle.


To show the dimension of the Glossy Accents and the snow, I took a picture underneath my lamp that I use to color. I have decided that I need to put things down at night and look at them again in the morning. I was convinced that I ruined my card with the Glossy Accents but it turned nicely in the daylight.


CDD Products Used:


I hope that our cards have inspired you to play along with this Linky Party!

Thank you for stopping by and have a beautiful day!


Tuesday, October 27, 2015

Holiday Hugs!


Hello and Happy Tuesday!

 For this Two for Tuesday challenge, Giorgia and I used the fox and deer from the stamp set, Deer FriendsI colored all of the images using various Copic markers. 


For the sentiment, I used a partial sentiment, Holiday Hugs, from the stamp set, 'Tis The Season.

I also stamped three of the snowflakes that come in the adorable stamp set, Chilly, all over the card base using Soft Purple Shadow Ink and Unicorn White from Hero Arts.


For the background I used two Distress Inks, Dusty Concord and Seedless Preserves, to blend a fun background for Giorgia because it's one of her favorite colors! I drew snow on the panel with a white gel pen. The present is from, 


Isn't this fox cute? For the snow on the ground, I used the Marvy Snow Pen to add some dimension. 


For the panel, I used the middle die from Fancy Frame Dies. Behind the panel, I cut a piece of vellum to lay behind it. 


After I adhered the vellum and the panel to the card base, I added some twine to the spine of the card and I was done.

Here are the CDD Products used on my card:


Thank you for stopping by and have a beautiful day!