Pages

Showing posts with label watercolor. Show all posts

Sunday, February 14, 2016

CDD Nature's Wonders Linky Party - You have my heart


Hello friends! The theme for this Linky Party at Craftin Desert Divas is "Nature's Wonders"! We would love to see all of your projects that fit this theme! So go ahead and craft it and link it up on the Craftin Desert Diva's Blog.

Every other Monday will mark the beginning of a new semi-weekly Linky Party over 
at the CDD blog. We hope you will share your projects with us! And don't forget 
about  the prizes! Every Linky Party will have a winner and a Top 3! 
The more times you link up...the more chances you have to win!!

Our Sponsors for this Linky Party are:

One 4"x 6" stamp set
One Digi Stamp of choice

$25 Gift Card (Regular Priced Items)


Here is what I made..


To begin, I took a piece of Tim Holtz Distress Watercolor Cardstock and taped it to a hard board with painter's tape. Using two colors from the Sakura Koi Watercolors travel set, I saturated the paper with water and dropped on the paint, allowing the colors to blend together. Then I used my heat tool to dry the paper before layering on more color. 


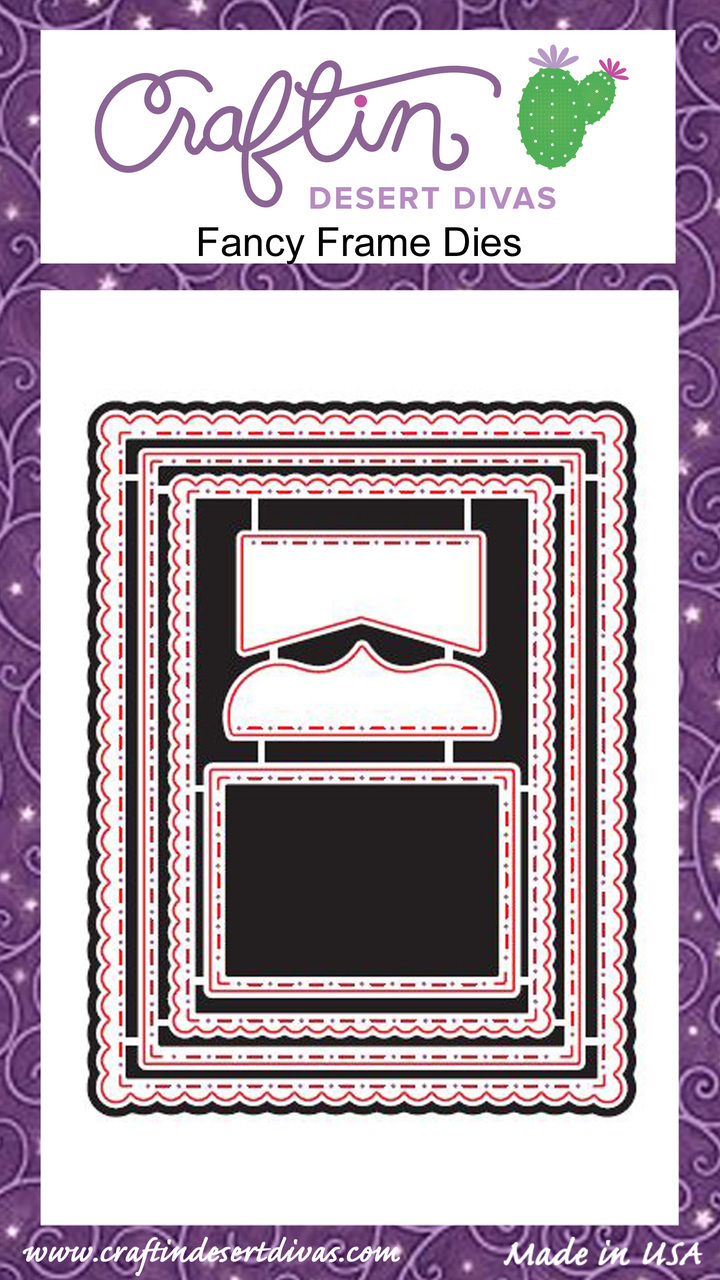
When I was happy with the background, I used the largest scallop die from the Fancy Frame Dies set to die cut the panel. After that, I worked on the images. I stamped the images with Memento Tuxedo Black ink onto Neenah Solar White and colored them with various Copic markers. I fussy cut the cats and die cut the umbrella with its coordinating die.


Next, I used a die from the Pocket Pieces Hello Dies to give the cats a place to sit. I borrowed this idea from CDD DT member Laurie. I loved how she used the die a few months back and thought it wouldn't take too much away from the background.

I adhered the dies and the cats with foam tape, added the sequins using Multi Medium Matte and worked on the sentiment.


The sentiment also came from the Lovies stamp set. I stamped it with Hero Arts Unicorn White but it didn't stand out enough so I went over the text with a white gel pen. The result is not my favorite but I didn't want to make it worse so it stayed. haha


Here are all the CDD products I used:


Sweetness Sequin Mix


I hope you like the card. Thank you for stopping by and have a beautiful day!


Sunday, February 7, 2016

CDD Daily Post - Hello!

Hello everyone!

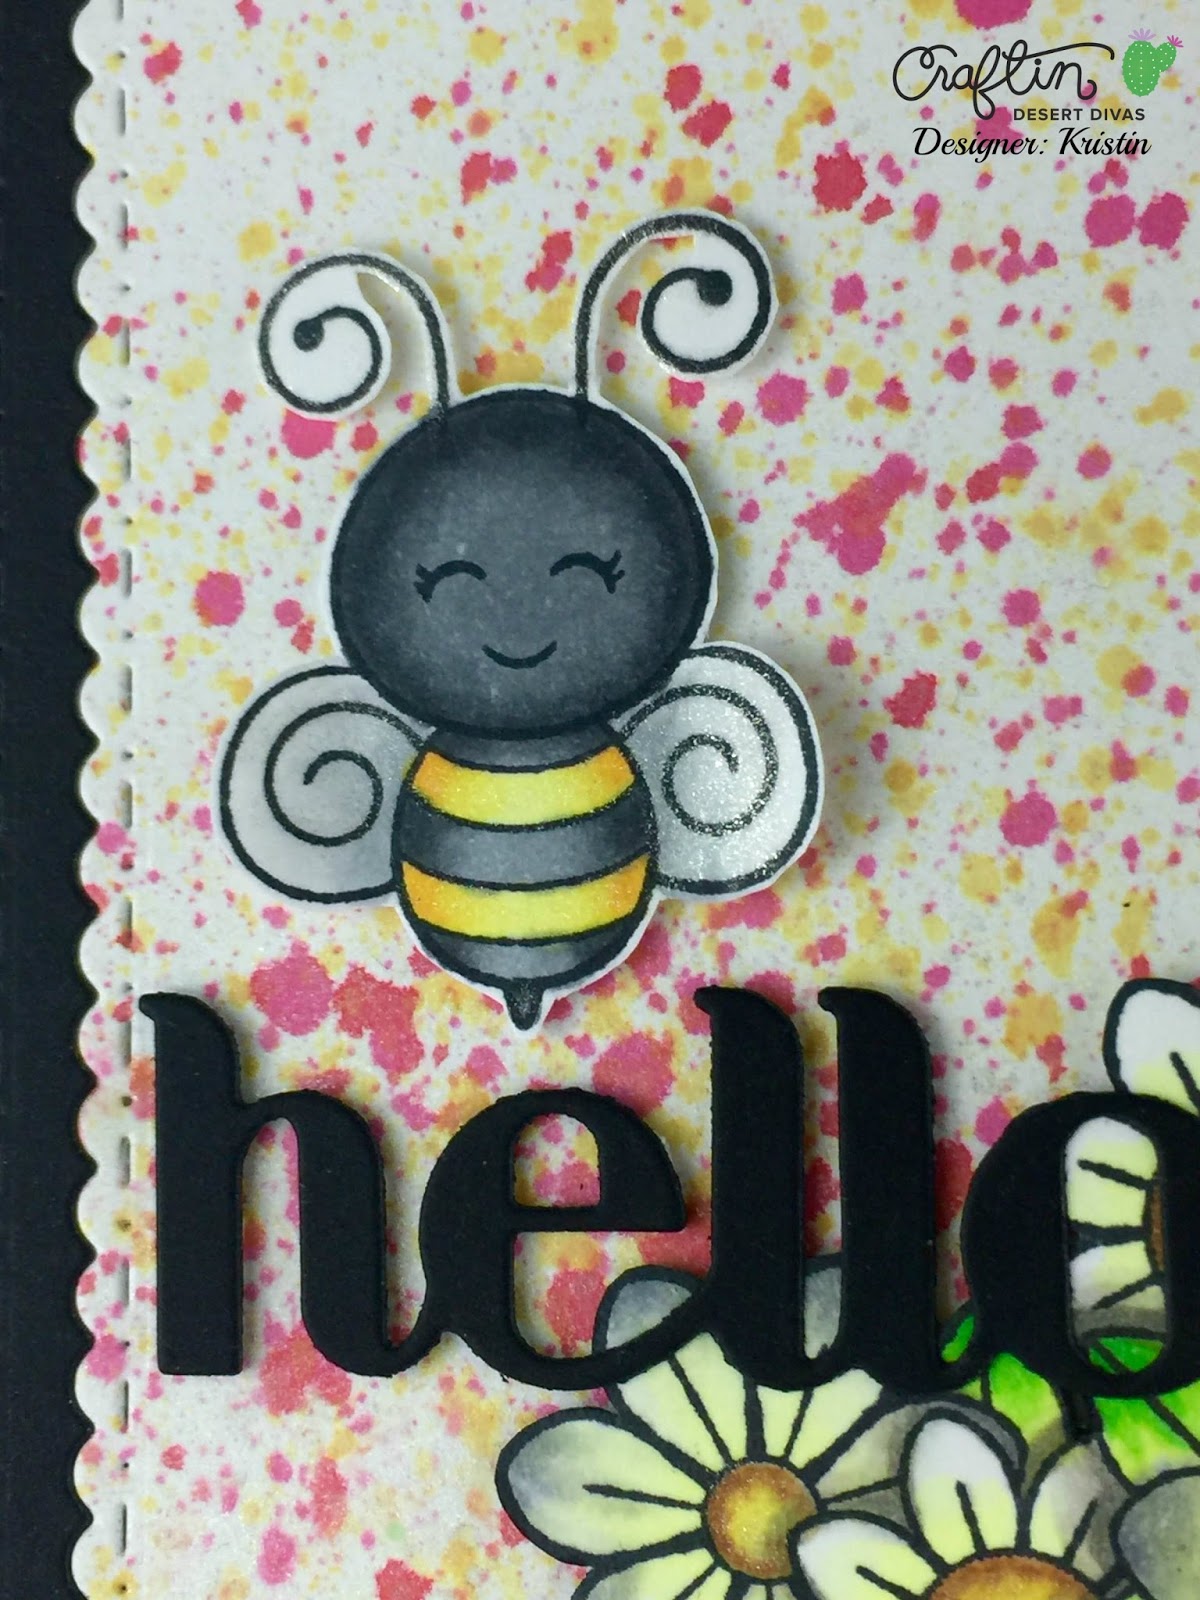
I'm here to share a card using the Busy Bees stamp set and two CDD die sets; Fancy Frame Dies and Pocket Pieces Hello Dies.

Here is my card:


To start, I die cut the splattered Distress Ink panel using the three largest dies from the Fancy Frame Dies set. Then I did the same thing with black cardstock. I replaced the middle section of the splattered panel with black cardstock, inlayed the die cuts together and glued them to the black card base.


Next, I stamped the bee and flowers from the Busy Bees stamp set with Memento Tuxedo Black, fussy cut them out and colored them with various Copic markers. I adhered them to the panel with low profile foam squares.


I die cut the word, Hello, from the Pocket Pieces Hello Dies Set with the same black cardstock. To make the Hello die cut the same height as the flowers and the bee, I cut the same foam squares in smaller pieces and used Multi Medium Matte to the spots that would lay over the flowers to hold it in place. For a final touch, I brushed Clear Wink of Stella on the flower centers and the bee's wings and I was done. 


CDD Products Used:


I hope you like the card and have a beautiful day!


Wednesday, December 2, 2015

Don't be a grinch and Very Merry Christmas!


Hello and Good Morning! 

I'm here to showcase a great stamp set, Tis The Season! For the month of December, we'll be showcasing some of our favorite stamp sets on the CDD blog so join us daily to see the wonderful projects from the CDD DT!

Today I have two cards to share with you.

Here is my first card:


This is a simple card because I wanted the sentiment, Very Merry Christmas, to stand out. It's big and bold so why not show it off?

I heat embossed the sentiment using WOW Gold Rich Pale embossing powder on a piece of Tim Holtz watercolor paper. I wanted to add a snowflake so I chose the snowflake with a heart in the center from the stamp set, Chilly.


I used four Distress Inks: Cracked Pistachio, Peacock Feathers, Mermaid Lagoon, and Chipped Sapphire. I also used some gold shimmer and white shimmer from my Gansai Tambi watercolors.


When the panel was dry, I used the largest scallop die from the Fancy Frame Dies set and after I adhered everything to the card base, I was finished!


Here is my second card:


For this card, I used, Tis The Season and Elf Made, along with two die sets, Fancy Frame Dies and Stitched Scallop Dies.

Using one of the dies from the Stitched Scallop set, I die cut the panel at an angle, taped the two pieces of paper together again and die cut the panel again using the largest scallop frame from the Fancy Frame set. Then I separated the two panels and blended Twisted Citron Distress Ink into the lower panel. 


For the background, I used three snowflakes from the Chilly stamp set and two Hero Arts Shadow Inks, Green Hills and Soft Green.

I colored the girl elf with various Copic markers. I had a Clear Wink of Stella explosion when I was shaking the brush pen so I splattered more on the paper to look like it was intentional! haha


The sentiment I chose from Tis The Season for this card is, Don't be a grinch.


After adhering everything to the panel, I was finished!


CDD products used:


Elf Made

Stitched Scallop Dies


Thank you for stopping by and have a beautiful day!


Thursday, October 22, 2015

A Halloween Hello!


Hello and Happy Thursday!


Today I'm sharing a Halloween card using Witch Way is the Candy? from My Favorite Things. This is a stamp set I received last year and all I did was color the images. I thought since it's that time again I would make an actual card! 

To start, I wanted to create a background using the oh-so fun ink smooshing technique. Using my Gansai Tambi watercolors, I used a paintbrush to pick up the color and made a small watercolor puddle on my craft sheet. Next, I used a stamp envelope to pick up the color and place and smoosh it onto the watercolor cardstock. I repeated this until I liked my background. This sheet of cardstock was 5x7 so I cut it down to a quarter inch smaller than an A2 size. 


To prepare a shaker window, I used two Simon Says Stamp Stitched Rectangle dies. I used Tombo Extreme Adhesive to adhere the acetate to the window and adhere the watercolor panel to the card base. 


For the sequins, I used Jack-o'-Lantern and Trick or Treat from Little Things from Lucy's Cards. I also added a couple of black cat sequins from the Spellbound sequin pack. These sequin packs have so much included that I wanted to dump the whole bag into the shaker area! haha


I chose the sentiment, A Halloween Hello. I die cut a banner and cut it down so it was small enough to fit in the corner. Then I heat embossed the sentiment using Versamark ink and Hero Arts White embossing powder. 


Next I die cut a few spiders out of black cardstock using the Scary Spiders from Memorybox. I am absolutely terrified of spiders so why I have this die in my possession is a mystery. I kept checking to make sure I had the paper spiders and I wasn't accidentally picking up a real spider! Oh, the joys of living in Colorado. 


The only thing left was to add the images I colored last year. I wanted to make it look like the frog and cat were just as worried about the spiders as I would be if such a thing was happening. They look sufficiently worried about the spiders and I am satisfied. Now to mail this out as soon as possible!

Thank you for stopping by and have a beautiful day!

Kristin